この記事を書いた人

上達の研究家 / アーティスト
「才能」ではなく「発見」で描く。文系・36歳からの上達ハック。
- ゼロから独学でクリエイティブコーディングに挑戦し、以下の実績を達成
- 開始1年8ヶ月目までに公募6つに挑戦し、3つ入選(勝率50%)
- KITTE大阪の18メートルあるAxCROSS大型スクリーン
- 虎ノ門ヒルズステーションタワーB2F TOKYO NODE エントランスサイネージで展示
- UN:O(東京大手町)にある会員限定のサテライトオフィスにて2作品常設展示
- 開始1年9ヶ月目に、虎ノ門ヒルズ49階、地上250mのインフィニティプールへ作品提供・展示
- 開始1年8ヶ月目までに公募6つに挑戦し、3つ入選(勝率50%)
- 【上達の秘密】
- 起源の物語:未経験から虎ノ門ヒルズ展示までの全記録(Genesis)
- 思考の技術:「上達」をシステム化する、モレスキン6冊の運用設計図
- ※虎ノ門ヒルズでの実績を出した「思考」と「経験」を、再現可能な形に体系化
目次
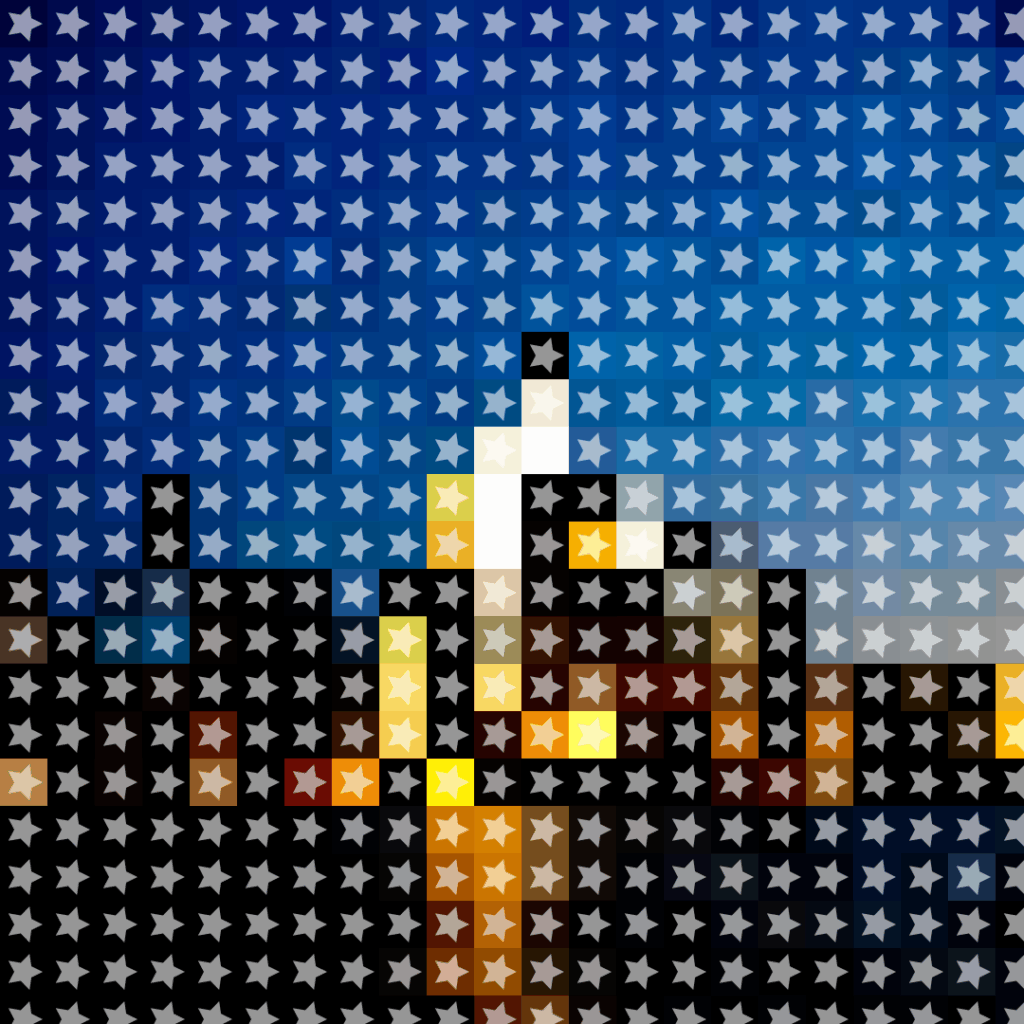
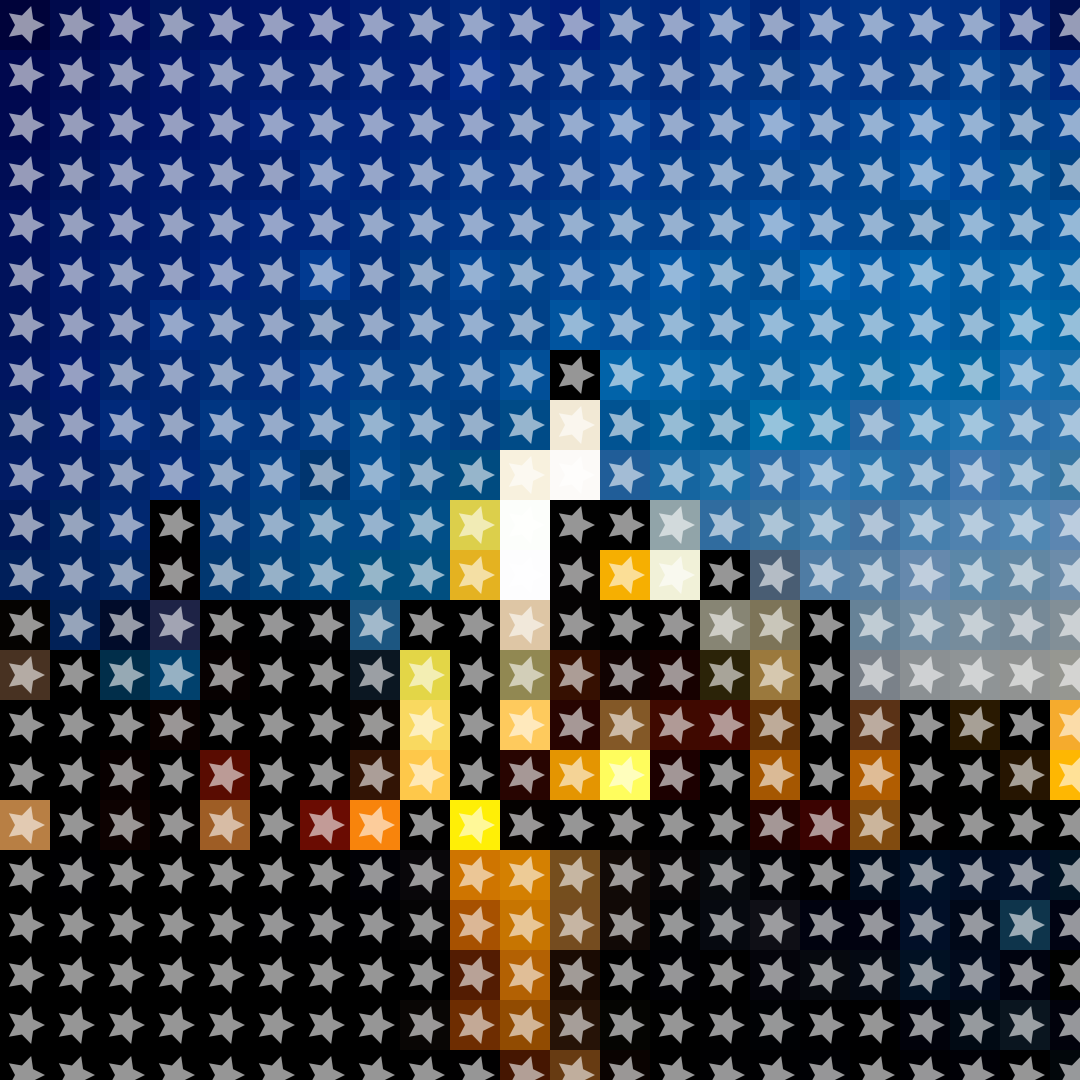
作品の画像とコード

PImage img;
float pixelSize = 50; // ピクセルサイズ(固定)

void setup() {
  size(1080, 1080);
  frameRate(60);
  smooth();

  // 画像をロード
  img = loadImage("2.jpg"); // 使用する画像ファイル名を適切に変更してください
}

void draw() {
  background(0);

  // 画像を描画
  drawImageWithShapes(img, pixelSize);
}

void drawImageWithShapes(PImage img, float pixelSize) {
  PImage resizedImg = img.copy();
  resizedImg.resize(width, height); // 画像サイズを画面サイズに合わせる

  for (int y = 0; y < height; y += int(pixelSize)) {
    for (int x = 0; x < width; x += int(pixelSize)) {
      color c = resizedImg.get(x, y); // 画像から色を取得
      fill(c);
      noStroke();

      // 四角形を描画
      rect(x, y, pixelSize, pixelSize);

      // 星を描画(四角形の中心を基準に配置)
      fill(255, 255, 255, 150); // 半透明の白い星
      drawStar(x + pixelSize / 2, y + pixelSize / 2, pixelSize * 0.2, pixelSize * 0.4, 5); // 星を描画
    }
  }
}

void drawStar(float centerX, float centerY, float innerRadius, float outerRadius, int numPoints) {
  float angleStep = TWO_PI / numPoints; // 各頂点の角度
  beginShape();
  for (int i = 0; i < numPoints * 2; i++) {
    float angle = i * angleStep / 2; // 星の内外の頂点を交互に配置
    float radius = (i % 2 == 0) ? outerRadius : innerRadius; // 外側と内側を切り替え
    float x = centerX + cos(angle) * radius;
    float y = centerY + sin(angle) * radius;
    vertex(x, y); // 頂点を設定
  }
  endShape(CLOSE);
} ワタタク
ワタタクそれでは今日もレッツワクワクコーディング。

